
Plugin Guide
General
General -> General Configuration- After plugin activation, the new item will be added to left navigation bar.
- General tab, enter the API key and organization name.
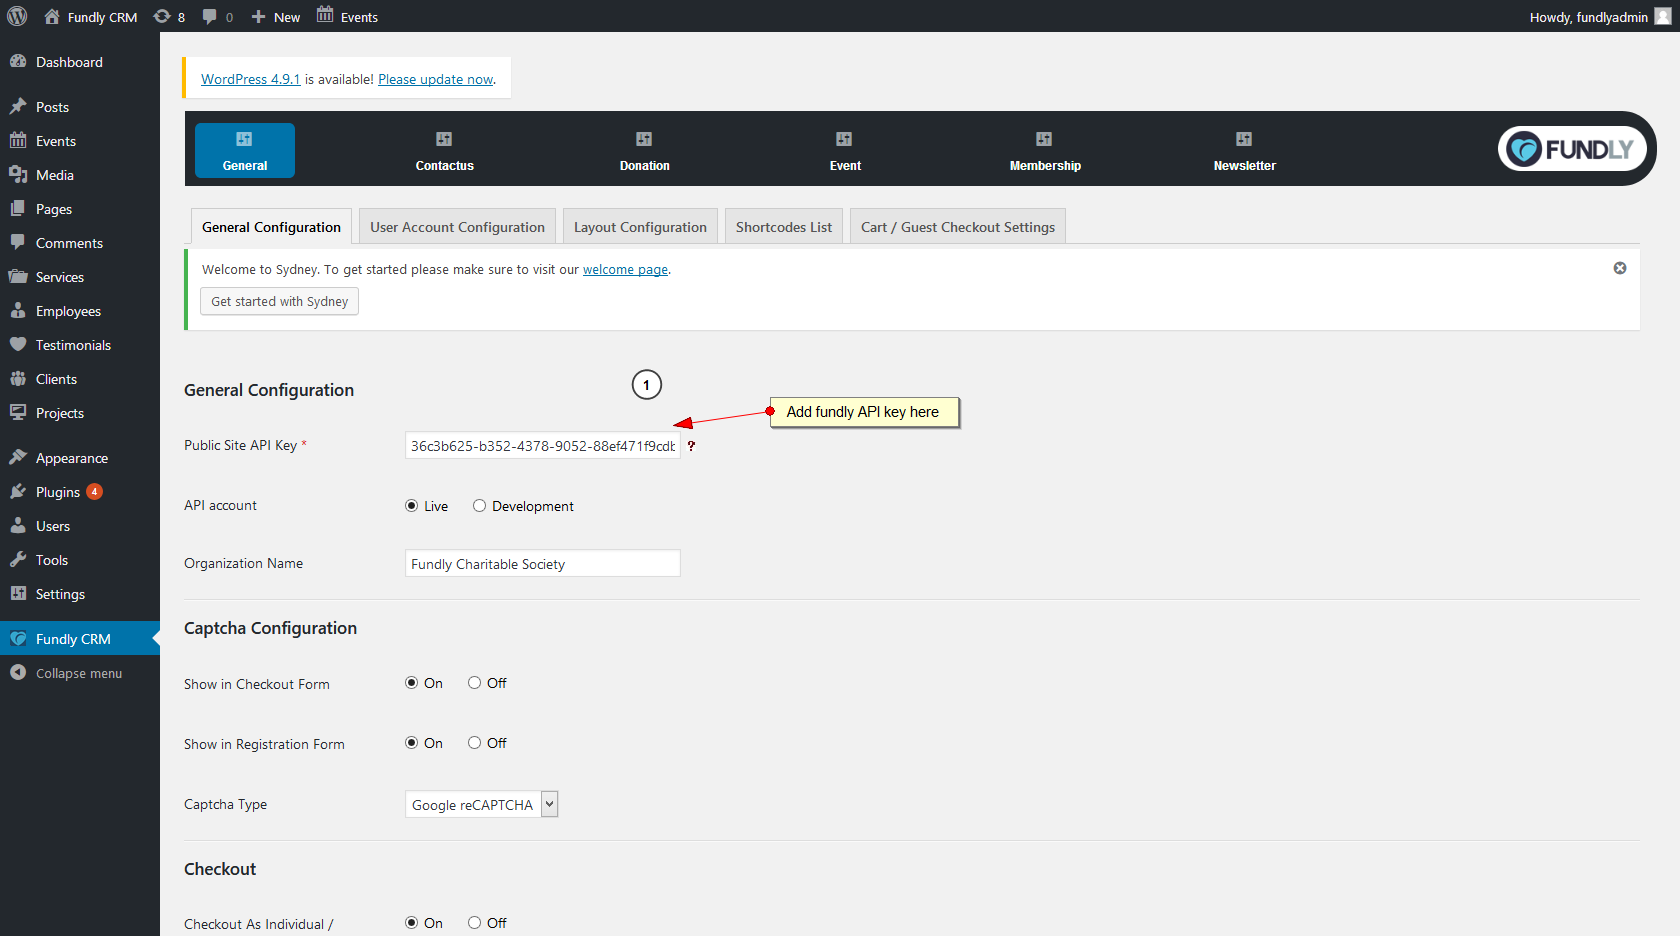
- Captcha Configuration, toggle captcha option in plugin
- Checkout, toggle checkout as organization
- Thank you page/ Message, after completing transaction set customize thank you message or select thank you page
- All settings related to user/login/registration/users tabs etc.
- Profile Tabs Show/Hide, toggle relationship and payment tabs
- Transaction Tabs Show/Hide, toggle Giving Details,Recurring Profiles,Event Registration,Membership tabs under transaction tab
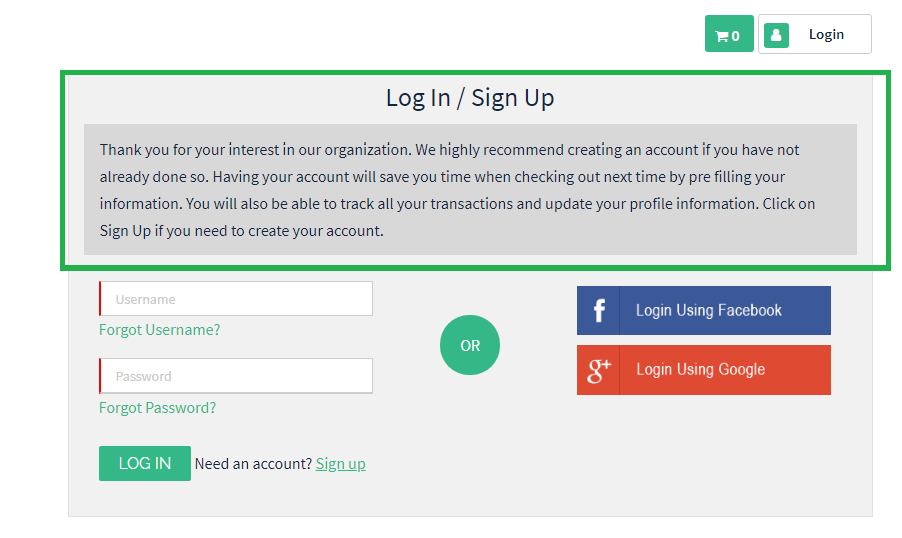
- Login Menu Show/Hide, toggle login option from all plugin area and change login menu position in other site areas
- Login/Register Header Message, Edit login/registration area text
- All settings related to front end layout. write custom CSS and js with highest priority
- All plugin short code list
- Toggle donation option on cart checkout page,default is off
- Source of donation and funds are required to set donation on checkout
Donation
Donation -> Donation pages- Donation page created on activation but donation will display only after adding donations.
- To configure donation, click on Donation at the top. On this page user can add new donation or edit an existing donation. Click the Add new button to add a new.
- No pre-configured donation available, admin have to create donation and use generated "shortcode" in respected donation page.
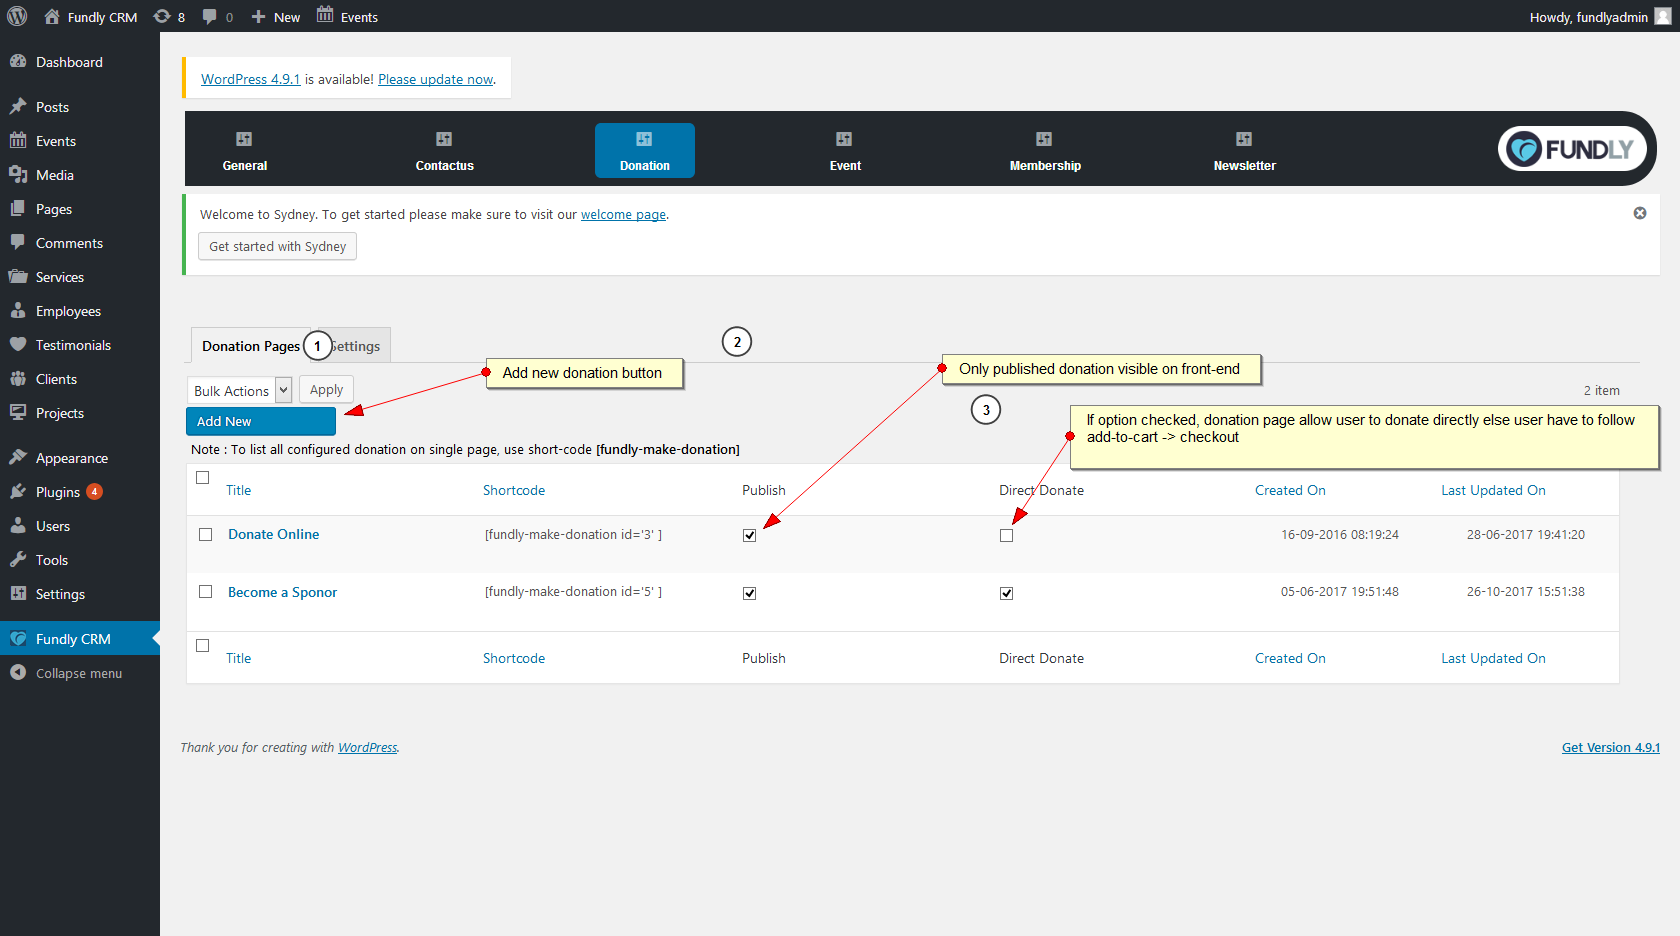
- Once the donation is added, donation will be visible in created donation page.
- Editable text and some toggle options.
Events
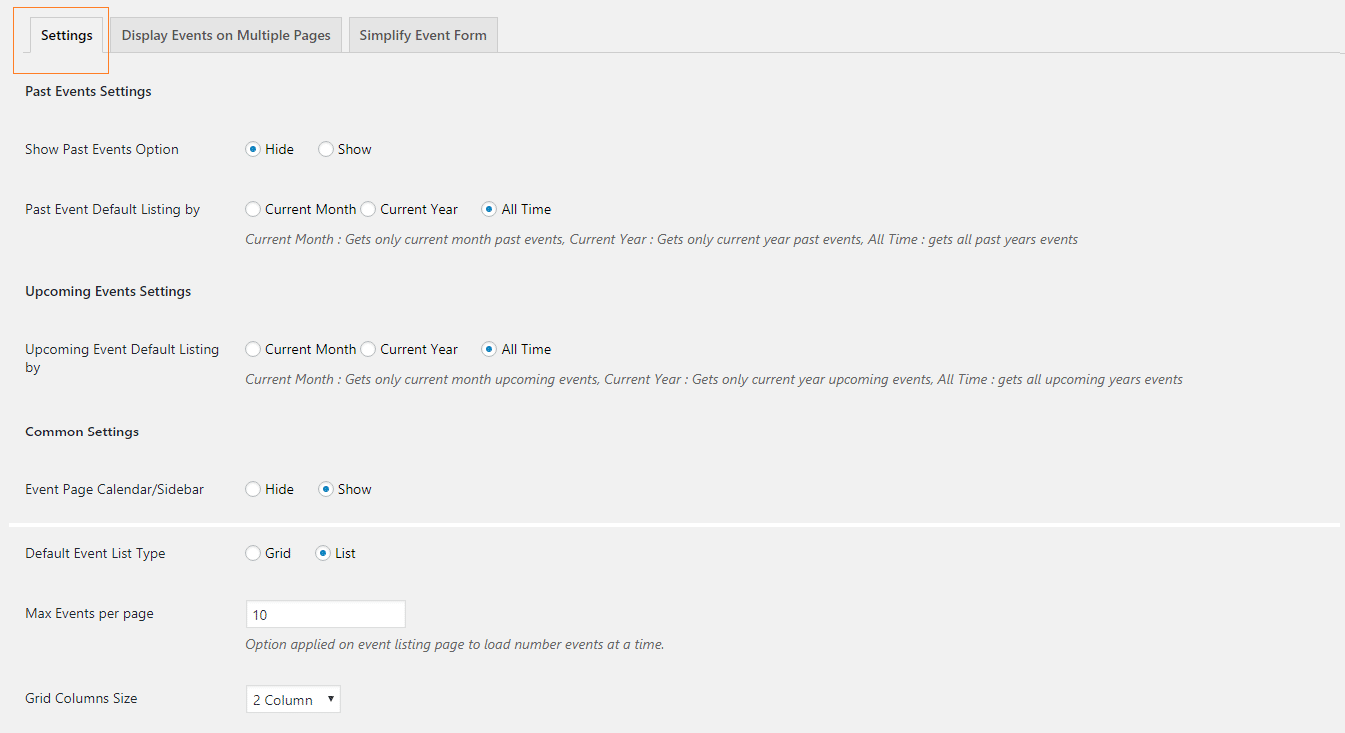
Settings- Past Events Settings, Toggle past event option and select past event default listing by current month OR current year OR all
- Upcoming Events Settings,Toggle Upcoming event option and select upcoming event default listing by current month OR current year OR all
- Common Settings, Hide or show event calendar,set default list type, set default list type( grid/ list ), set per page event numbers
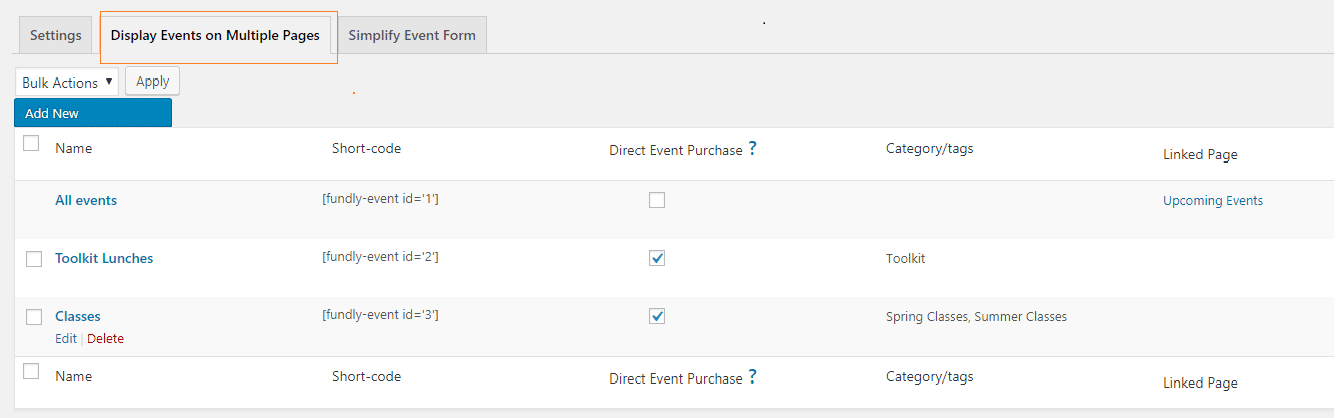
 Display Events on Multiple Pages
- Displays all events short codes
- Direct Event Purchase column, it makes event page as a single page event checkout
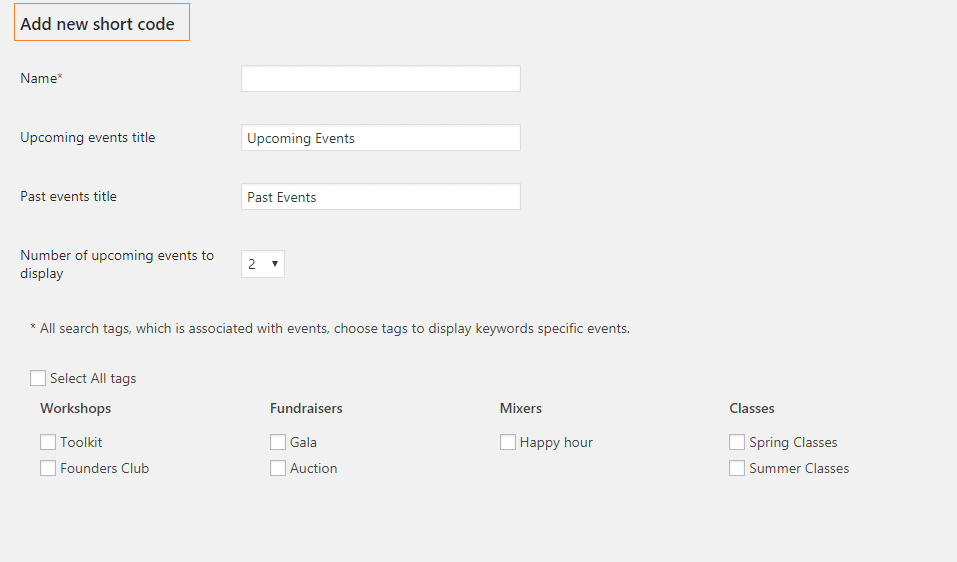
- Add New
- Add title for upcoming and past events
- Number of upcoming events to display, for widget short-code
- Select tags to display events having that tags only, leave unchecked to list all events
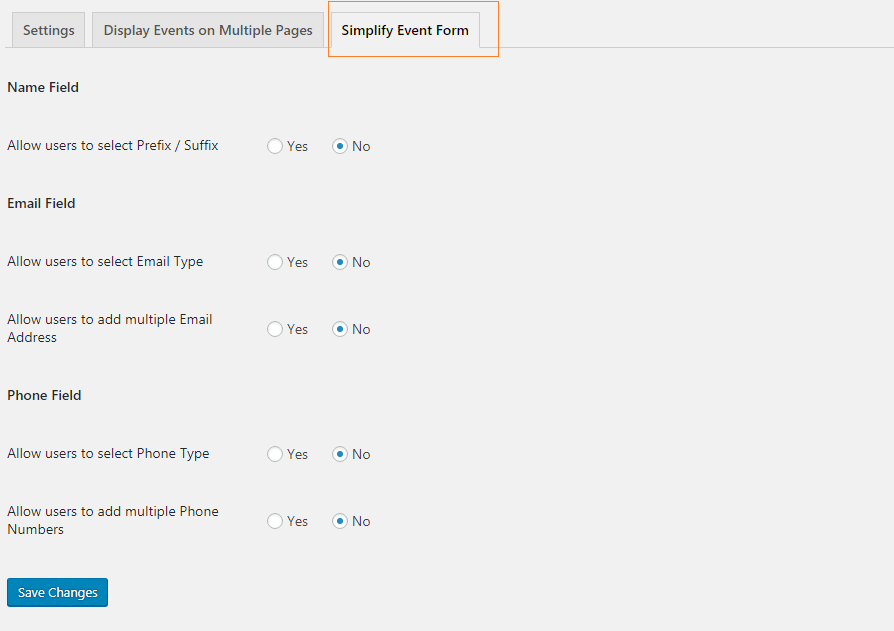
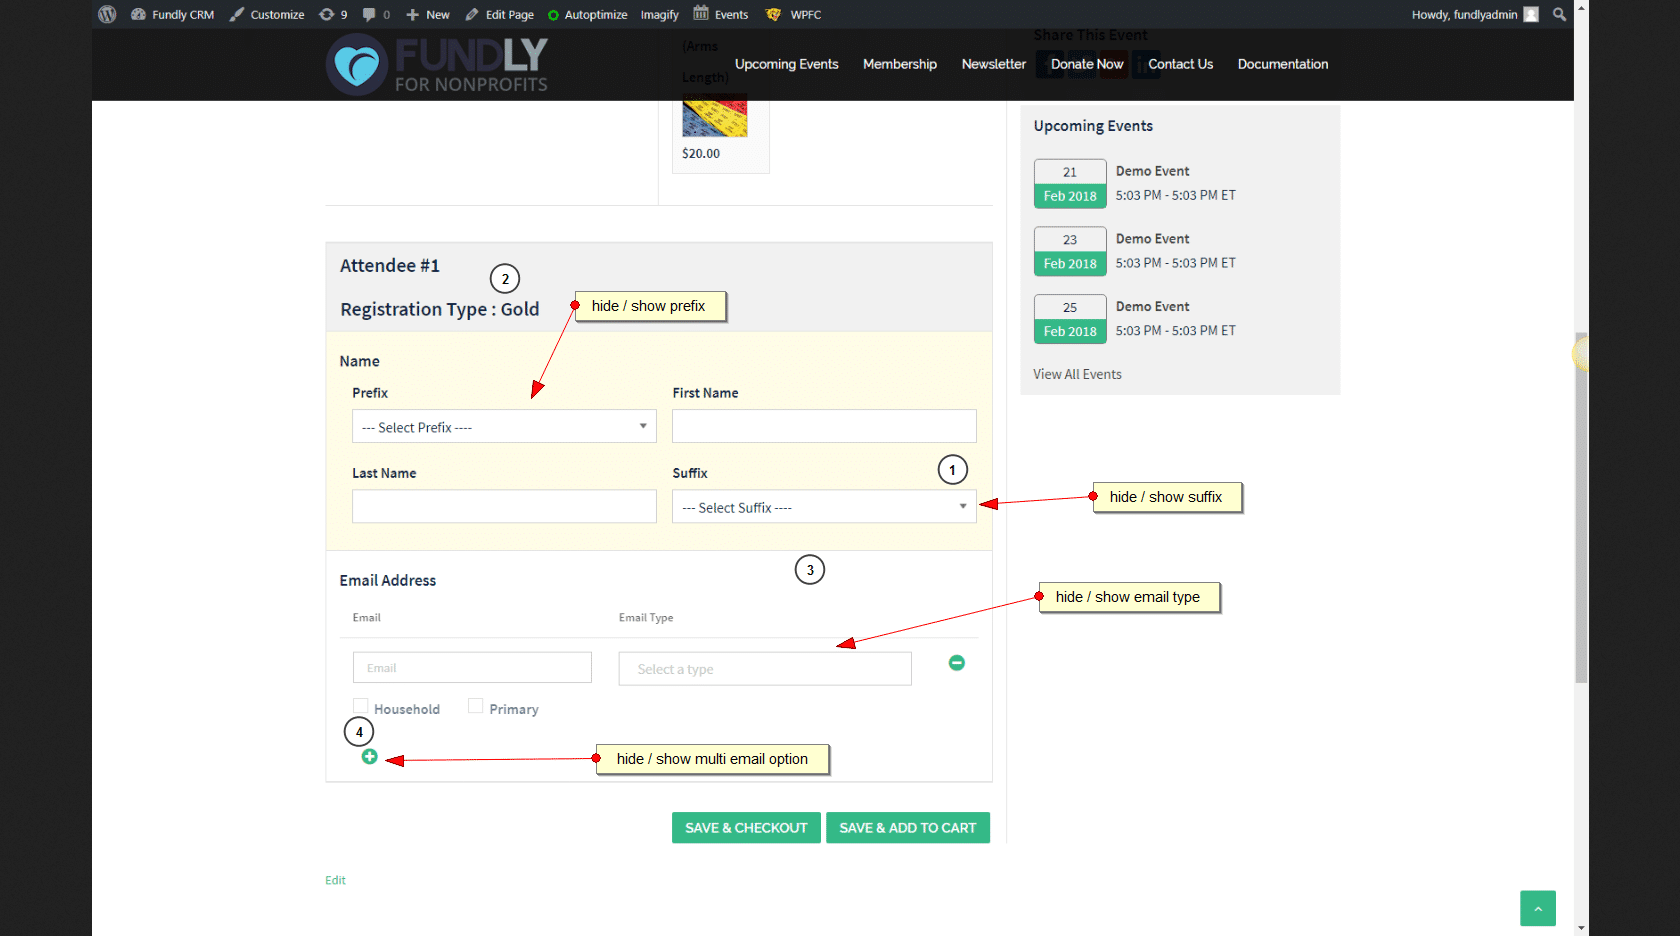
- Hide / Show event form items
- Front-end form where these setting applies
Newsletter
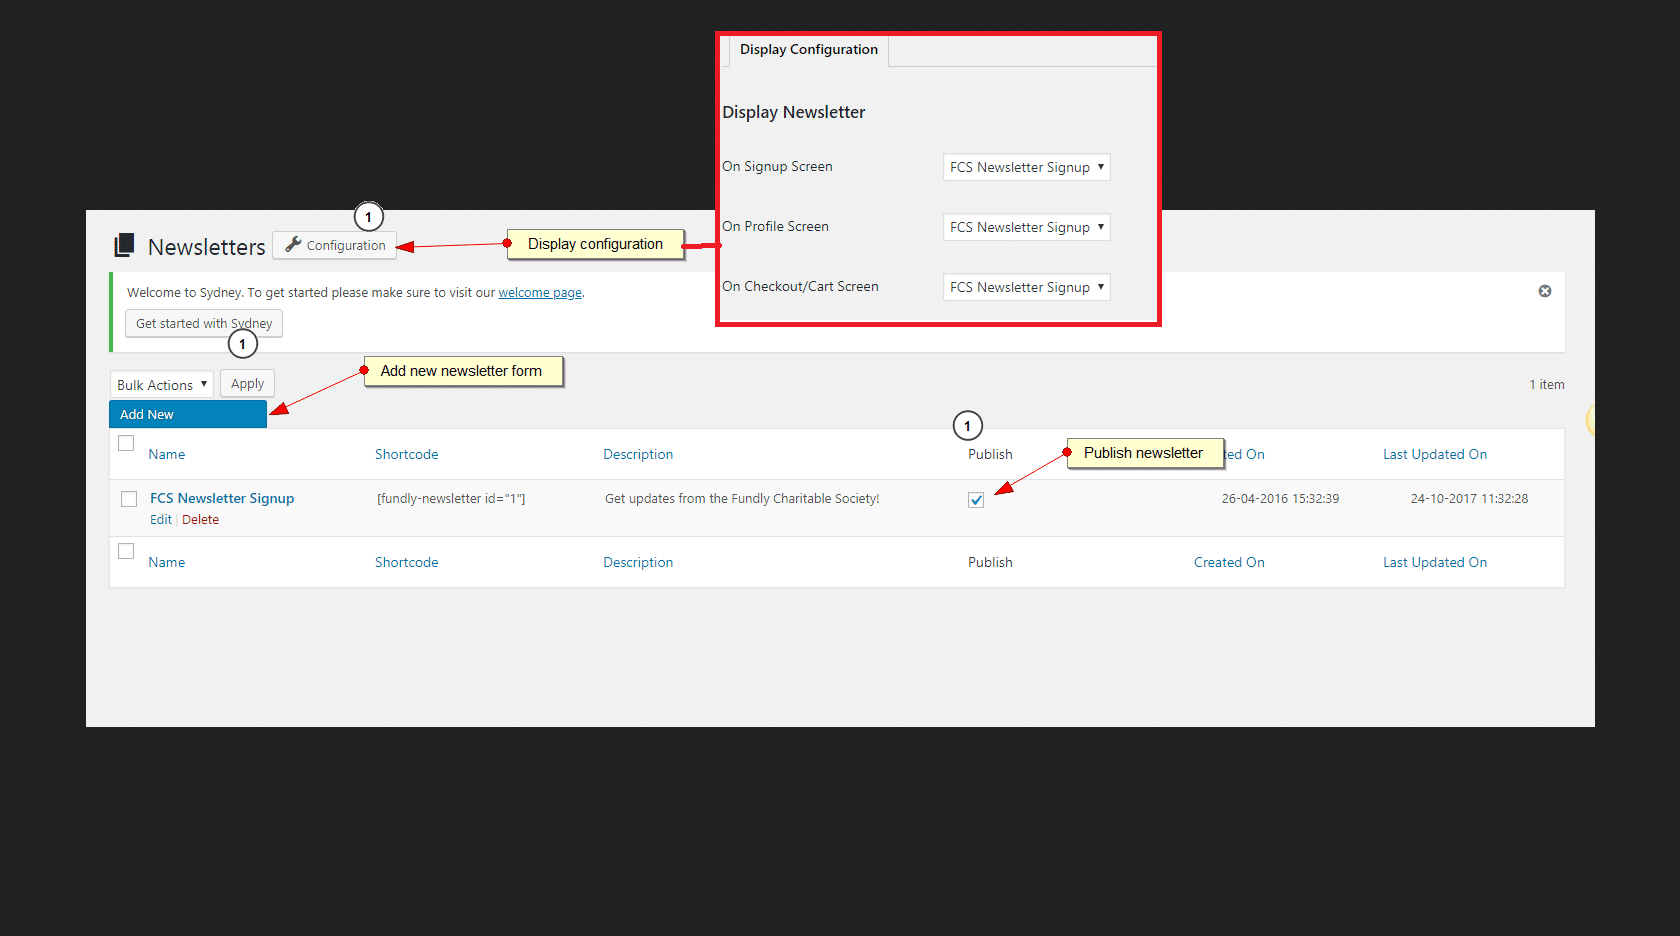
To configure newsletter, admin has to add new newsletter form and use generated short code in site pages.
Newsletter -> Listing & configuration
- Newsletter listing page, all newsletter listed here, admin has to publish newsletter to use newsletter.
Newsletter -> Add New -> Form Fields Configuration
- Newsletter Name, newsletter title
- E-Newsletters, Toggle e-newsletter option in form
- Snail Mail Newsletters, Toggle mail newsletter option in form
- Custom Fields, add custom fields into newsletter form by selecting custom data set
- Mail Address Fields, Toggle address fields
- Display CAPTCHA, Toggle captcha option
- Submit Button Text, edit newsletter submit button text
- Categories, allow user to select categories OR admin can set default newsletter categories on signup
- Newsletter category Instructions , admin can write user help instruction for front-end user about categories
Newsletter -> Add New -> Form Design Configuration
- Headline, set newsletter headline
- Description, add newsletter description
- Button Background Color, set newsletter submit button background color
- Button Text Color, set newsletter submit button font color
- Custom CSS Class, add custom css class on button
- Background Color, set form background color
- Font Color (all lables ), set font color of all forms lables
- Background Image, set form background image
- Background Image Repeat, If form background set as image and needs to repeat can do from here
- Input Fields Width, input text width in form
- Set Left Indent/Margin, set left side tndent in form
- Form Alignment, form alignment in screen left, right, center
- Main Container Width , set form parent container width
Contact Us
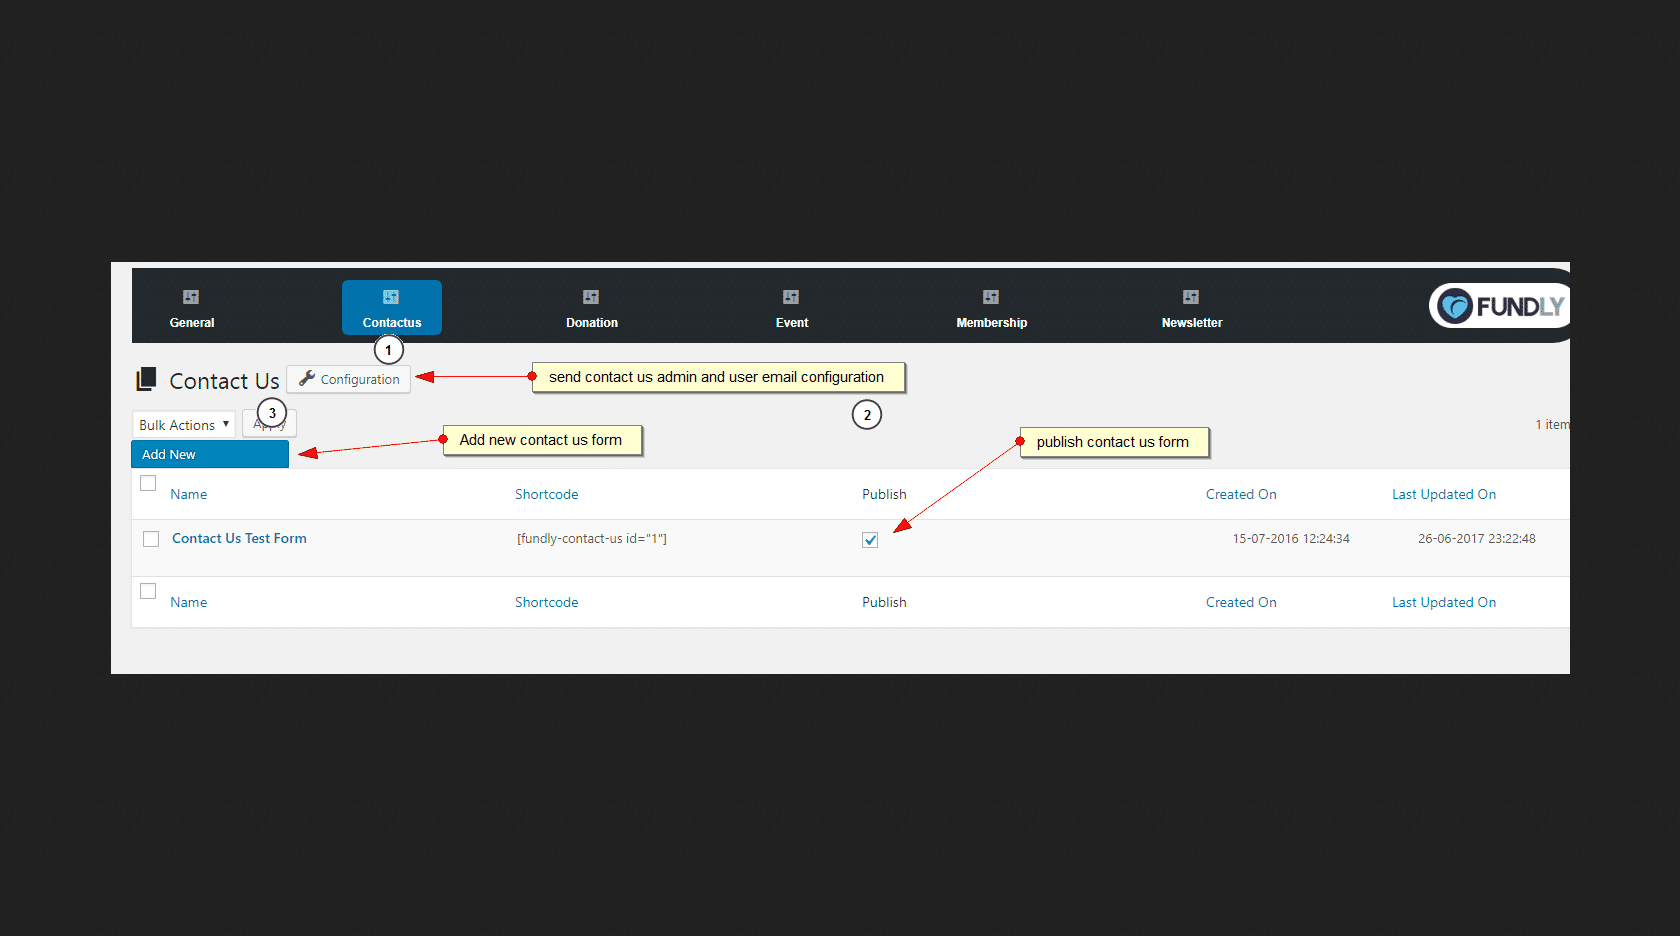
To configure contact us form, admin has to add new contact us form and use generated short code in site pages.
Contact Us -> Listing & configuration
- Contact Us listing page, all Contact Us listed here, admin has to publish Contact Us to use Contact Us.
Contact Us -> Add New -> Form Fields Configuration
- Contact Form Name*, contact us form name
- Contact Source, Select contact source, selected cotact source will be assign to the contact created by this form
- Contact Type, Select contact type to get associated custom data set and their form fields
- Form Fields, List all custom data set and their form fields associated with selected contact type
- Display CAPTCHA, Toggle captcha option
- Submit Button Text, edit Contact Us submit button text
Contact Us -> Add New -> Form Design Configuration
- Headline, set contact us headline
- Description, add contact us description
- Button Background Color, set contact us submit button background color
- Button Text Color, set Contact Us submit button font color
- Background Color, set form background color
- Font Color (all lables ), set font color of all forms lables
- Background Image, set form background image
- Background Image Repeat, If form background set as image and needs to repeat can do from here
- Input Fields Width, input text width in form
- Set Left Indent/Margin, set left side tndent in form
- Form Alignment, form alignment in screen left, right, center
- Main Container Width , set form parent container width